Getting started
Learn how to navigate XPortal and work confidently with records and lists.
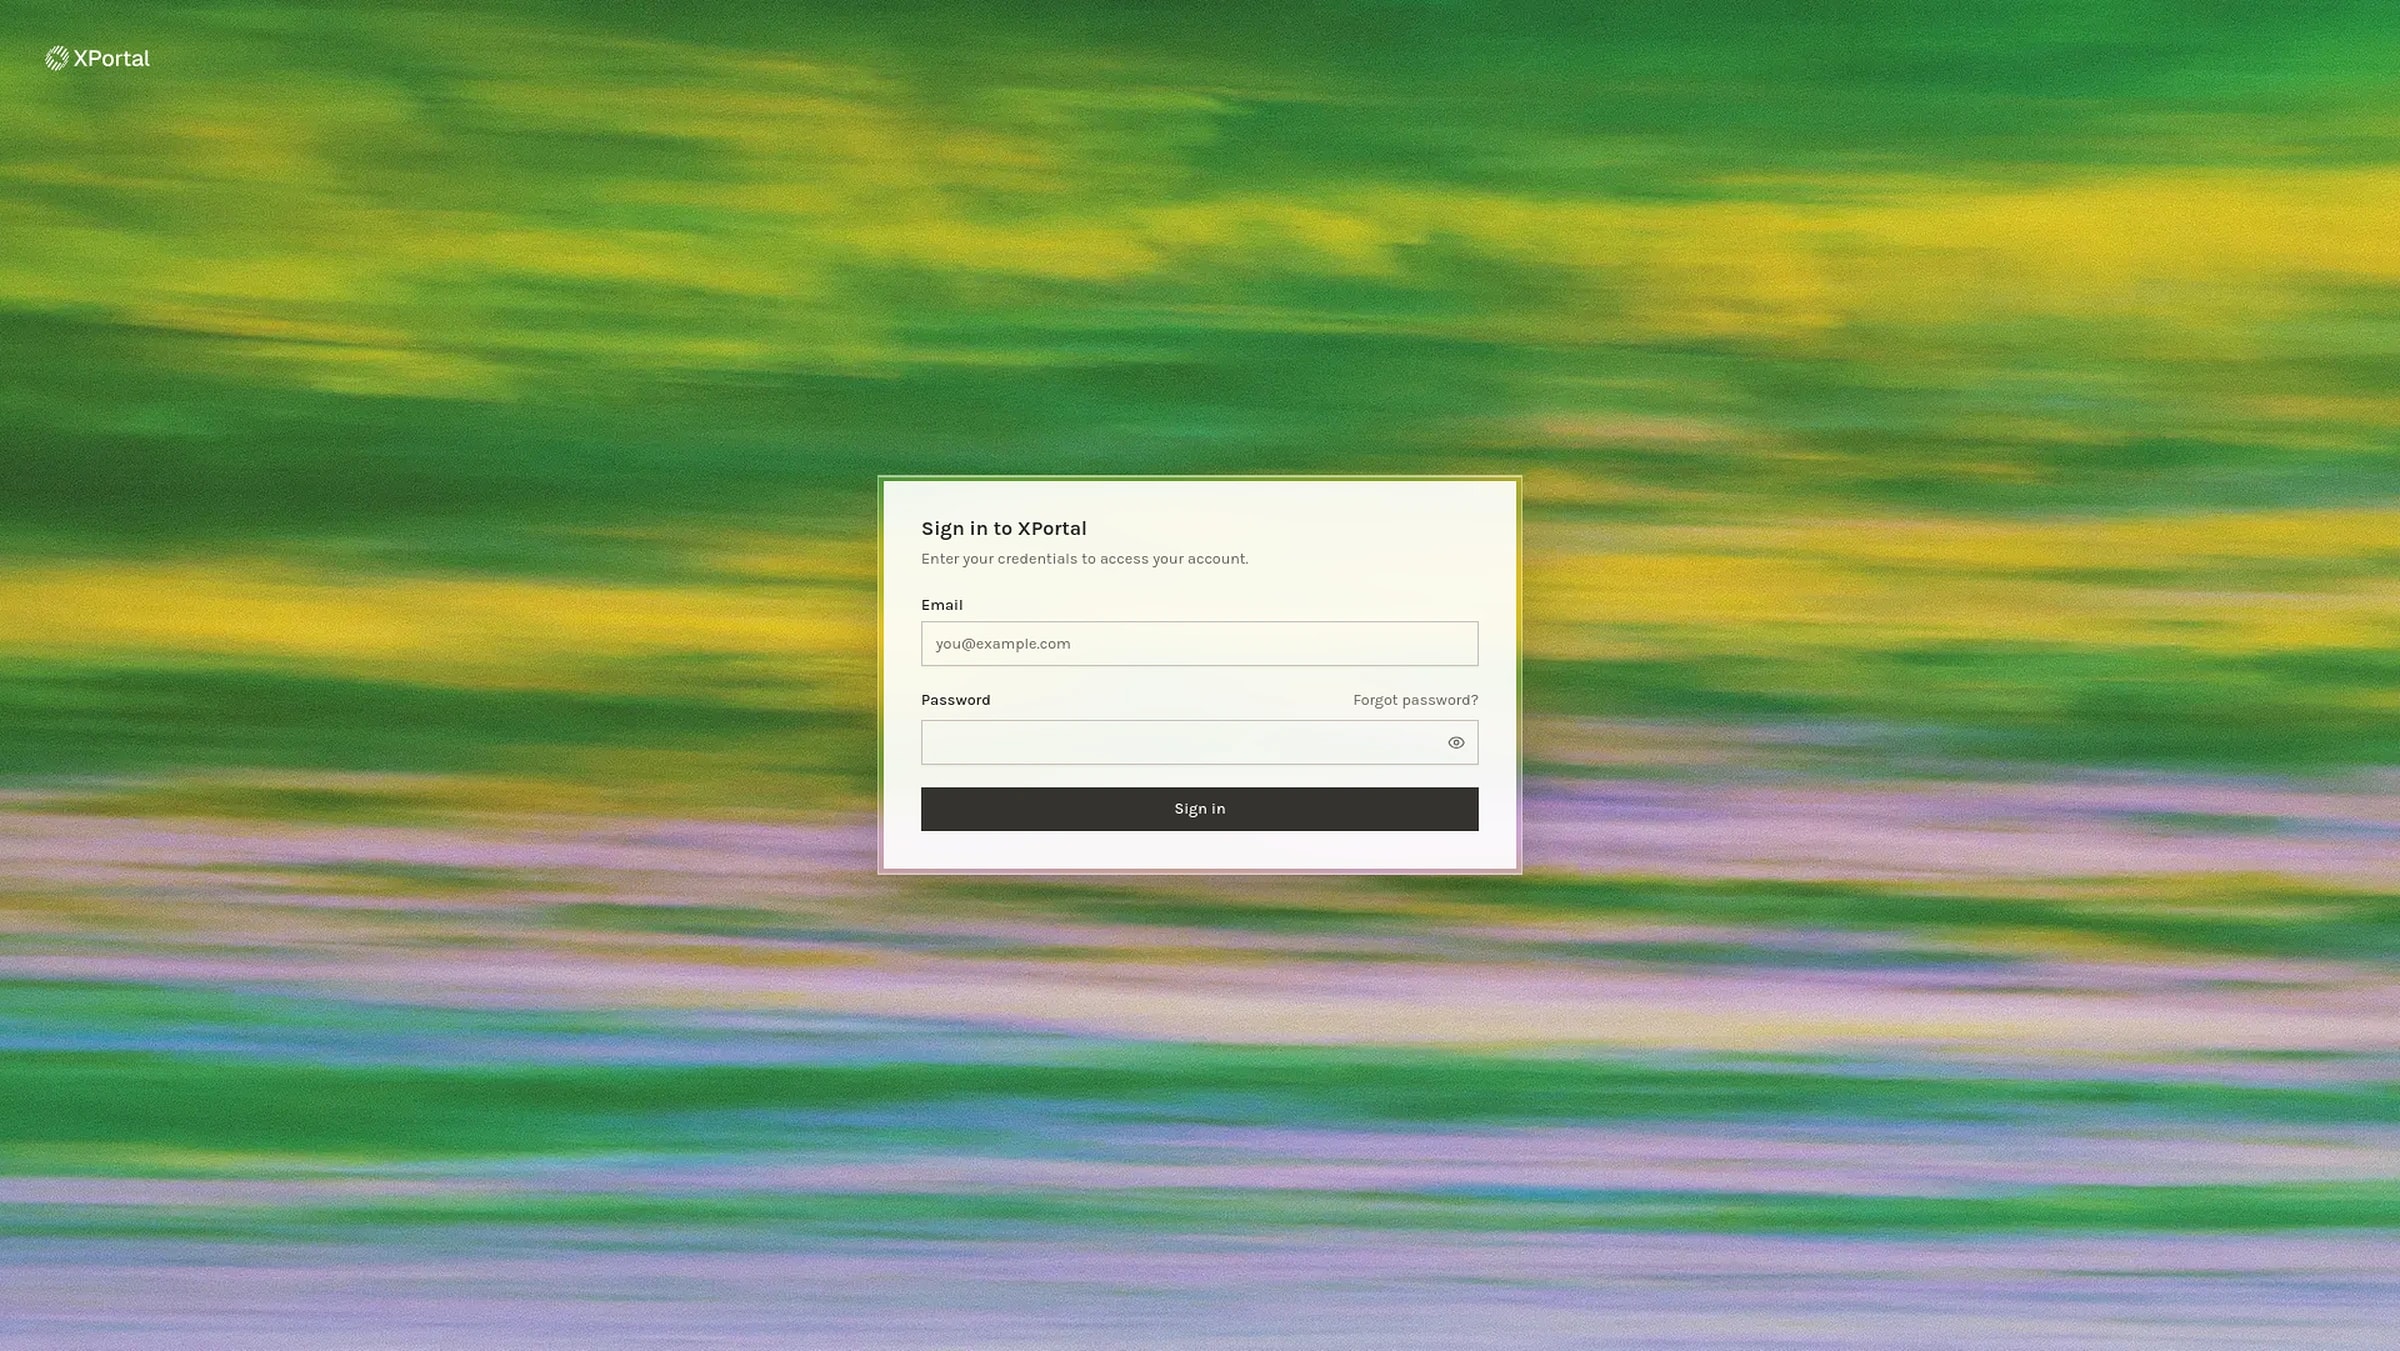
Sign in and choose the right workspace
Sign in with the account provided by your organisation. If your account can access more than one organisation, use the account switcher in the sidebar and confirm the organisation before you begin.
The navigation only shows areas your role can use. A hidden page usually means that your account does not have permission for that workflow.
Find your way around
The XPortal sidebar groups work by purpose:
| Area | Use it for |
|---|---|
| Students | Student records, enrolment details, and follow-up queues |
| Applications | Applicant intake and admissions progress |
| Academic Planning | Programs, subjects, subject deliveries, classes, and assessments |
| People | Agents, trainers, staff, and administrators |
| Financial | Invoices, payments, deposits, templates, and commissions |
| Communications | Mail, WhatsApp, SMS, and announcements |
| Workflows | Repeatable processes and automated actions |
| Reporting | Regulatory and operational outputs such as AVETMISS |
| RTO | Locations and groups used across your organisation |
Calendar, Events, Supercode, and Settings are available to roles that manage those functions.
Work with list pages
Most XPortal areas use a consistent list view. Depending on the page and your access, you can:
- Apply filters to narrow the records in view.
- Show or hide columns to match the task.
- Select one or more rows for a supported bulk action.
- Export rows using the Export rules for selection and visible columns.
- Open a row to review its complete record.
Check scope before acting
Filters and selected rows determine the scope of many exports and bulk actions. Review both before you confirm an action.
Keep records reliable
- Search for an existing person before creating a duplicate.
- Use the status that reflects the current real-world state.
- Add clear notes where the workflow provides them.
- Recheck dates, amounts, email addresses, and identifiers before saving.
- Sign out or lock your device when you step away from sensitive information.
Next, learn how to manage students or process applications.